The Little Prince-Le Petit Prince-Ο μικρός πρίγκιπας

Anyone as excited as I am about The Little Prince? The book, the concept, the illustrations…everything about it shouts extraordinary! So, why should a christening invitation with The Little Prince as a theme be ordinary?

Let me get right to the point though…I was asked to prepare a few samples for a “The Little Prince” themed christening. Off we go to see some steps of the process (if possible) and the final results.

The ‘always present’ companion…my Big Shot Express…Big Shot Express
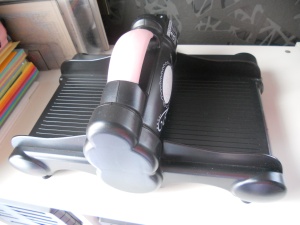
…some dies…let’s see which ones…

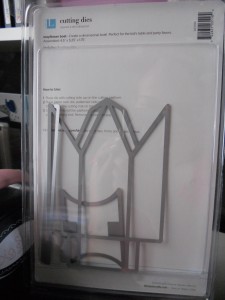
1. Sizzix Bigz XL Die-Long Triangle Box

2. Quickutz Die-Star

…and finally a sprinkle of imagination!

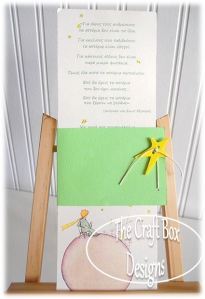
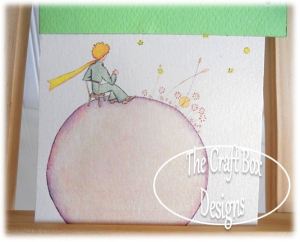
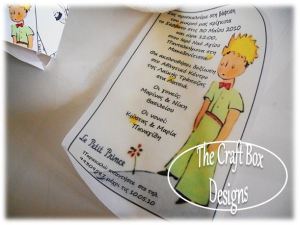
Ideas were overflowing and three samples were created as a final result. For the first one, simple yet elegant invitation, I only used the quickutz die and punched two holes to it so I could add the star accent to the folding cover of the saying. The cover can be moved up or down to uncover and read the saying or the short excerpt from the Greek translation of The Little Prince. Here’s the final result:

the little prince1  the little prince2

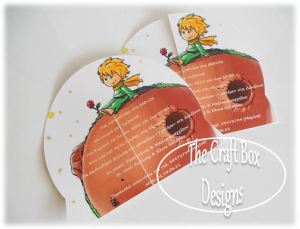
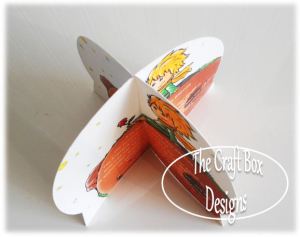
The second sample was a bit tricky, since I knew what I wanted to create but did not have an actual die for it. So…I reverted to my old yet faithful Craft Robo (my digital cutting machine) which I had not used for quite some time. I designed the gsd. file for the invitation (you can also hand cut or die cut a project that you want to make into a 3d standing one if you don’t own a digital cutting machine) so it would fit the saying and printed out the invitation design twice and then passed it through the machine for a test cut!!! This is where magic happens!!! I got the results I was hoping for from the first cut. Then, I hand cut the slot where the two pieces should slide into one another tried it out!!! WOW!!! Have a look…
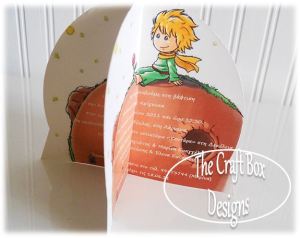
Two identical pieces-Slots were cut from bottom up and vice versa to meet each other in the centre

Two identical pieces-Slots were cut from bottom up and vice versa to meet each other in the centre

the little prince5

The two identical pieces attached-Invitation can be read as it is through the center piece of the standing invitation

A look from above-easy but effective result of a simple printout invitation

A look from above-easy but effective result of a simple printout invitation

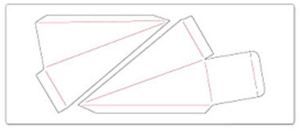
Let’s proceed to the last sample! As I said, being a fan of 3D invitations I could not help myself from creating something totally different from the above. I used the long triangle box die from Sizzix which looks something like this when cut:

Sizzix Long Triangle Die

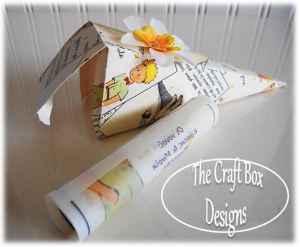
 I also designed a Little Prince layout full of related images and lettering so I could print it on thick card stock and cut it with the Triangle Die to create the outer box for the invitation (if you would like the PDF file for the outer box, don’t hesitate to email me here!). After printing and cutting, I assembled the box and added a flower and rhinestone accent to it. This is how it looks:
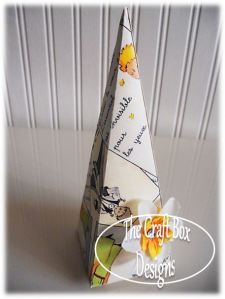
the little prince7 The inner invitation was then designed to fit the triangle box perfectly (when rolled) and was again printed, this time on thick transparency paper. This is what it looks like:

the little prince10

Finally, the whole project was put together and VOILA! The 3D invitation was completed!!! The box opens from the bottom to reveal the saying of the invitation as seen below:

the little prince8

That’s about it for today my crafty companions! I will soon have more to share with you and the rest of the world!!!

Happy sunbathing…!

Sails Away…!

One of the latest orders of christening invitations that I completed was a nautical one!

Hooray!!! My kind of stuff!!! You know how I love anything nautical!!!

And…

…being a fan & creator of 3D-structural invitations and cards for the past 2 years, I just had to recreate a boat or something similar.

After a brief search on related die cutters I came up with the following amazing idea that I soon constructed!!!

So, without further delay, let’s see how I got from this…

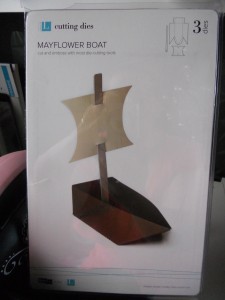
Mayfair Boat DieDSCN0808

…to THIS!!!

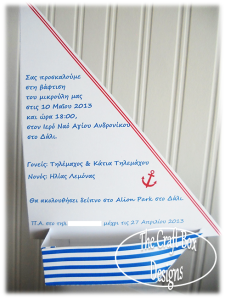
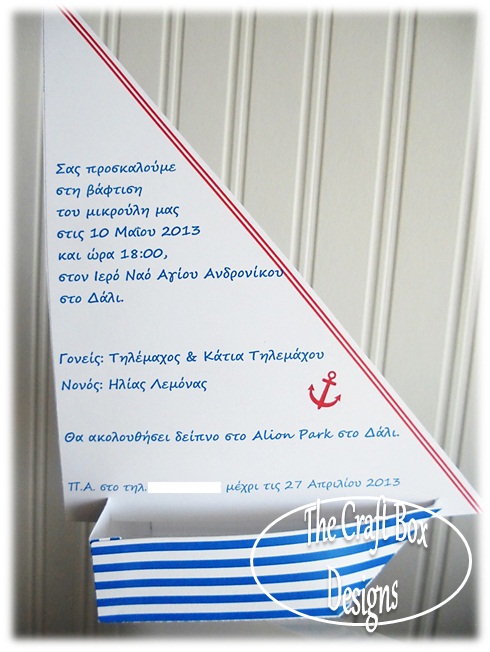
Nautical Christening Invitation

My trusted and truly amazing companion, my Big Shot Express which I bought about 4 years ago from the UK, combined with the Mayflower Boat Cutting Dies from Lifestyle Crafts did all the hard work, along with some imagination on my part of course!

Firstly, I printed out nautical blue stripey scrapbook paper and the invitation saying (which is in Greek of cource!) on thick 300gsm cardstock.

I then used the boat die and the stripey cardstock to create the boat’s bottom part. I aligned the stripes with the die and used low tack tape to keep the card in place while it was passing through the Big Shot Express.

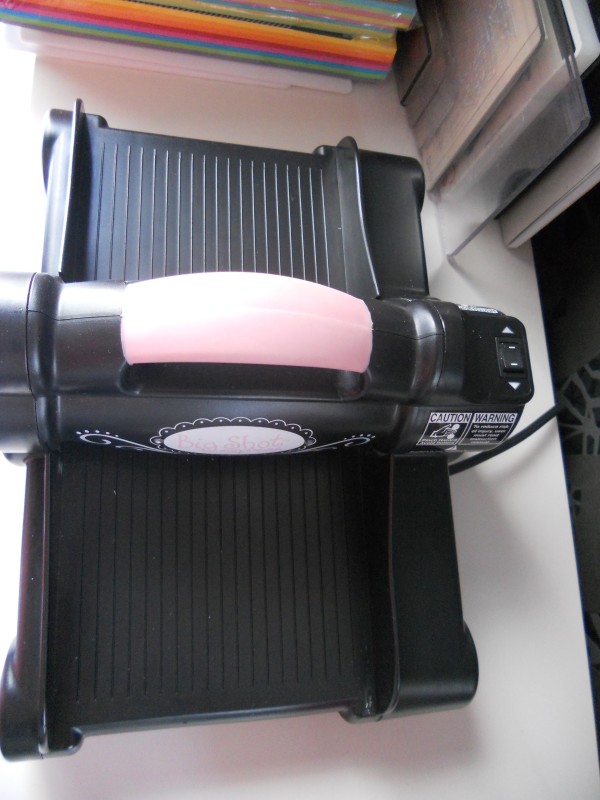
Here’s a peak on my little but invaluable assistant!!!

DSCN0807

When the bottom part of the invitation was done, I measured and cut the top piece -the sail- shaping it into a large triangle to fit on top of the boat. I did not use any of the remaining two dies in the box as I knew the sail would be too small to fit any kind of decent lettering on it (you can see the sail die on the second top photo)! Can be used alternatively as a favor box though (reminder to self!!!).

As soon as the cutting procedure was done, I found myself in the dilemma of how to assemble the two pieces without having any permanent bonding so that the customer could disassemble the invites and send some abroad if she wished.

Puzzling was soon over with a little help from my hubby who recommended cutting up two slits to the triangle so it would slide onto the boat shape on the front and back side…Problem Solved!!!

As soon as I saw the result I knew that it was a winner!!!

Customer, happy!!!

ME, happier!!!

It’s one of those days that a good idea becomes an amazing reality and all things seem to just fall into place………………ahhhhh!

Bigger photo for your eyes only! 🙂NAUTICAL INVITATION

If you wish to see more of my creations, you can head over to my Facebook page The Craft Box and if you like what you see then let me know!!!

XOXO

Summer hit me!

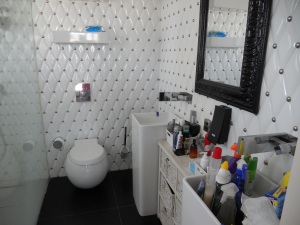
It has been quite a while since I thought of  having a tiny makeover made to the en suite bathroom of our apartment. Then…summer hit me!!! Holidays began for me in the end of June so there was no excuse for not doing what I had in mind. The theme…easy!!! Since I love the sea and everything nautical, I decided to keep a slight red, white and blue color scheme to my project…

The Before...

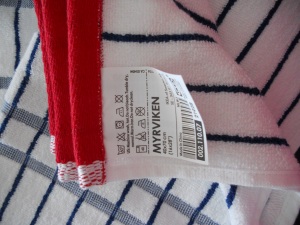
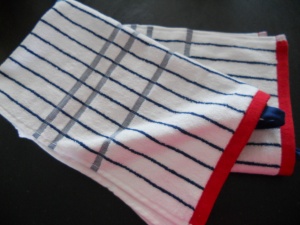
So…keeping in mind that I had to spend as little as possible and maximize the impact, I chose few, but crucial elements to add to the room. I fell in love(!!!) with the new MYRVIKEN hand towels at IKEA as soon as I laid eyes on them! Plain perfect!!! I was actually looking for red or blue to complete the red ones I already had…but found something a thousand times better!!!

Items used...

Items used...

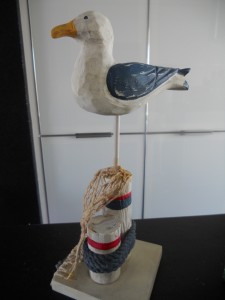
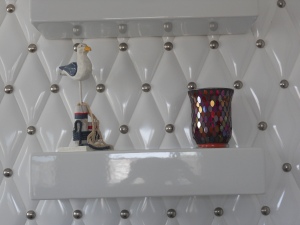
I also added a seagull decor that I found from a local shop. I added two red stripes with some red paint and a thin brush so it would match the whole concept! (I know, it’s me going crazy over the tiny details again!!!)

Items used...

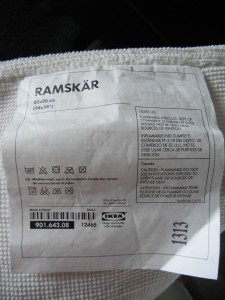
During my visit at IKEA, I also found the perfect bathmat to add. RAMSKAR bathmat has the exact dimensions that fitted the bathroom and did not have stripes on it (as I would like to be able to change the theme during Autumn-Winter time).

Items used...

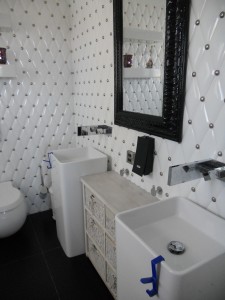
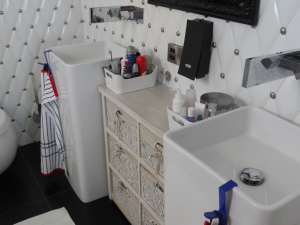
Sooo……….After removing all items I had lying around in the bathroom, I pulled out the unit that’s in between both sinks, scrubbed the top surface as it was dirty from liquid soap and toothpaste and painted it iridescent white using Winsor & Newton Galeria Acrylic Mediums (Iridescent Medium)! That gave the top a pearlescent subtle look which I adore!!! I also added two coats of varnish to the wooden surface to make it waterproof! That’s done!

The Before...

After leaving the unit outside to dry for several hours (summer sun did all the work!!!), I put it back in its place. Needless to say that I cleaned the whole en suite during the drying period…Also moved the two towel hooks from the sides of the sinks to the front.

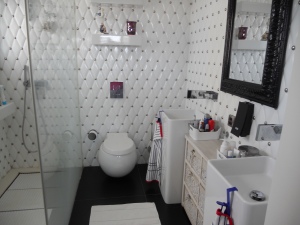
The After...

I then added my little friend to the porcelain shelf along with a glass pieced candle holder with a red candle. Made all the difference!

Details...

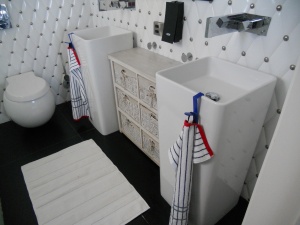
I washed the hand towels and placed them on the hooks…..easy as that…

The After...

…and added the two plastic high-gloss VARIERA boxes that I  already had, again from IKEA. Also added the red bath towels that I have and completed the look!

The After...

And this is my first ever post!!! Wow! Let me know what you think!!!

The After...

Morena's Corner

Taking Time Out to Craft

Applelover53 - Blog

ScanNCut Enthusiast, Youtuber, Blogger & UK Stampin Up Demonstrator. Visit My Website www.applelover53.co.uk

Images By Heather M's Blog

Scrapbooking and svg files for Sure Cuts a Lot

papercraftbliss

Paper + Craft = Bliss

worthygoods

hand-tailored gear steeped in Maine style

Kate's Creative Space

ideas, projects and beautiful things

Life 'n' Things

Write about experiences that could be useful to others

Why Buy it? DIY it.

for the do it yourself enthusiast

Live & Talk about it!

just about anything & everything...

M&J Blog

just about anything & everything...